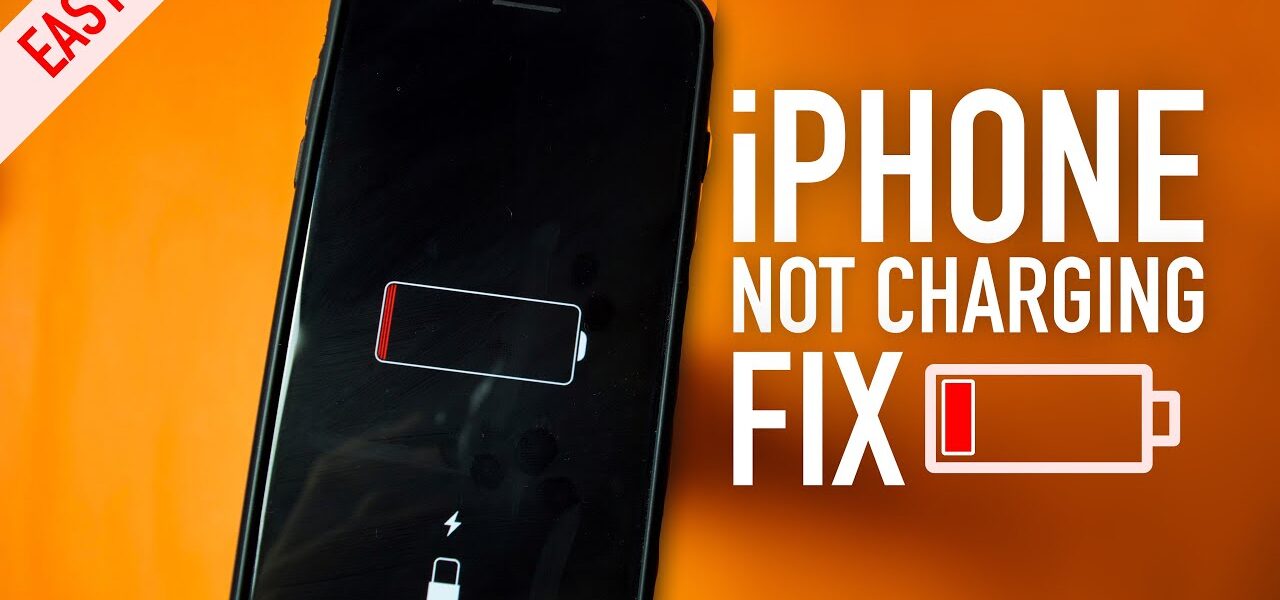
Is your iPhone not charging properly? There’s nothing more frustrating than realizing your battery is dead just when you need your phone the most.
Just the other day, I was casually surfing the net, scrolling through socials, watching a few reels—my battery hit 20%, but I didn’t panic. I kept going. At 2%, I finally jumped up, rushed to grab my charger, plugged it in… and nothing. No lightning icon, no buzz, no sign of life. My iPhone wasn’t charging—and I was completely confused and stuck.
Has this ever happened to you? Don’t worry—you’re not alone. Whether it’s a cable issue, software bug, or something deeper, most iPhone charging problems can be solved easily. In this article, I’ll walk you through 7 quick fixes to get your iPhone charging again—fast.
1. Check the Charging Cable
When your iPhone refuses to charge, the first thing to check is the charging cable. Often, people overlook this, but cables can get damaged over time. Whether it’s due to bending, twisting, or regular wear and tear, your cable could be the culprit.
How to Test if the Cable is Working
You can start by visually inspecting your cable. Look for any signs of fraying, kinks, or bends in the wire. If you spot any, it’s likely that the cable is damaged and needs to be replaced. Another simple test is to try the cable with a different device, or alternatively, use a different cable to charge your iPhone. If the new cable works, you’ve found your problem.
When to Replace Your Cable
If your cable is severely damaged, it’s time to replace it. Damaged cables can not only prevent your iPhone from charging but can also cause damage to your iPhone’s charging port over time. Always opt for an original or certified third-party charging cable to ensure safe charging.
2. Inspect the Charging Port
Another common cause of charging problems is a dirty or blocked charging port. Dust, lint, or other debris can accumulate in the port, preventing your cable from making a proper connection with your iPhone’s charging pins.
How to Clean Your iPhone Charging Port Safely
Cleaning the charging port of your iPhone is an important maintenance step that can help resolve charging issues, but it must be done carefully. If your iPhone isn’t charging properly and you’ve ruled out issues like a faulty cable or power source, the next possible culprit is often a buildup of dust, lint, or other debris in the charging port. Over time, these particles can accumulate and block the connection between the charging cable and your phone, preventing it from charging.
To avoid further complications and ensure the cleaning process doesn’t damage your iPhone, it’s crucial to follow these steps carefully.
Step 1: Power Off Your iPhone
Before you start cleaning your iPhone’s charging port, always turn off your device. This is to ensure your phone doesn’t receive power while you’re cleaning the port, reducing the risk of short circuits or accidental damage. It also prevents any unnecessary electric shocks from the internal components.
To turn off your iPhone:
-
For iPhone 8 and later, press and hold the side button and volume up or down button together, then slide to power off.
-
For earlier iPhone models, press and hold the top or side button until the “slide to power off” slider appears.
Step 2: Use a Soft, Non-Metallic Tool
Next, you’ll need to choose the right tools for cleaning. Never use anything metallic to clean your charging port, as it could scratch or damage the internal components. Instead, opt for a soft, non-metallic tool like a toothpick, cotton swab, or a small brush. These tools are gentle enough to remove debris without causing damage to the port.
Best Tools for the Job:
-
Toothpick: A wooden or plastic toothpick is an excellent choice. It’s thin enough to fit inside the port and is strong enough to help dislodge any debris without scratching the sensitive parts of the port.
-
Small brush: You can use a clean, soft brush, such as a small paintbrush or even a toothbrush. Be sure to choose a brush with bristles that are gentle and won’t bend or damage the port.
-
Anti-static cleaning brush: If available, an anti-static brush is ideal because it minimizes the risk of static electricity, which could potentially damage your iPhone’s internal components.
Step 3: Gently Remove Debris
With your chosen cleaning tool, gently insert it into the charging port. Be careful not to apply too much pressure, as the components inside the port are delicate. Start by gently scraping the inside of the port in a circular motion to dislodge any dust, lint, or other debris. If you’re using a toothpick, make sure it doesn’t splinter or break off into the port.
If you’re using a cotton swab, you can lightly moisten the tip with a small amount of water or isopropyl alcohol. However, be cautious with moisture and never apply liquid directly into the port. Too much liquid can seep into the internal components and cause more damage than the debris itself.
Tip: If the debris seems stubborn and doesn’t easily come out, try blowing gently into the port or using a can of compressed air to loosen it. However, never directly spray compressed air into the port—hold the can upright and use short bursts to prevent moisture from getting inside.
Step 4: Check for Remaining Debris
Once you’ve removed most of the visible debris, take a closer look at the port. Hold your iPhone under a light source, and visually inspect the charging port to ensure that no dust or particles are left behind. You can also gently tap the phone on a soft surface to dislodge any last bits of debris that might still be stuck inside.
Tip: If you notice any stubborn grime or buildup that you can’t remove using a toothpick or brush, it may be worth considering professional cleaning services.
Step 5: Test Your iPhone
Once the cleaning process is complete, it’s time to power your iPhone back on and test if the charging issue has been resolved. Plug in your charging cable to see if it fits more securely in the port. You should also check if your iPhone begins charging. If it charges properly, you’ve likely solved the issue, and the cleaning was successful.
However, if the charging issue persists even after cleaning, it could be an indication of a more serious problem, such as a faulty charging port or an issue with your iPhone’s internal components. In that case, it might be best to visit an Apple Store or an authorized service provider for further inspection.
Additional Tips for Preventing Future Build-Up:
-
Use a charging port cover: Consider using a port cover to help protect your charging port from dust and debris when it’s not in use. These covers are often small, lightweight, and inexpensive, but they can prevent the accumulation of dirt in the port.
-
Avoid charging in dusty environments: While this might not be possible in every scenario, try to avoid charging your phone in overly dusty or dirty areas where debris can easily accumulate in the port.
-
Keep your iPhone in a protective case: A good case can help shield the charging port from dust, lint, and other debris while offering added protection to your phone.
Tools You Might Need
A can of compressed air can also be useful for blowing out any loose debris from the charging port. Just ensure you keep the can upright and spray lightly to avoid moisture buildup.
3. Restart Your iPhone
Sometimes, the problem could be with the software, and not the hardware. A simple restart can fix minor software glitches that might be preventing your iPhone from charging. It’s an easy fix that many people forget about.
How to Restart Your iPhone
To restart your iPhone, press and hold the power button until the “Slide to Power Off” slider appears. Slide it to turn off the iPhone, wait a few seconds, and then press and hold the power button again until the Apple logo appears. This simple reboot can clear out temporary bugs that might be preventing your phone from charging.
4. Check for Software Updates
Outdated software can sometimes interfere with your iPhone’s charging capabilities. Apple regularly releases software updates that fix bugs, improve performance, and address charging issues. It’s important to keep your iPhone’s operating system up-to-date.
How to Update Your iPhone
To check if you have any available updates, go to Settings > General > Software Update. If there’s an update available, tap Download and Install. Make sure your iPhone is connected to Wi-Fi and has sufficient battery life before updating.
5. Test with a Different Power Source
If you’ve checked your cable and port, the issue might be the power source. Charging from a faulty outlet or USB port can lead to charging problems.
Try a Different Wall Outlet or USB Port
First, try plugging your iPhone into a different wall outlet. If you’re charging through a computer or power bank, try a different USB port or power source. Sometimes, the issue lies with the power supply, and switching to another one can solve the problem.
6. Reset All Settings on Your iPhone
If none of the previous fixes have worked, it might be time to reset all settings on your iPhone. This won’t erase your data but will reset your preferences like Wi-Fi passwords and wallpapers.
How to Reset Settings Without Losing Data
To reset your iPhone’s settings, go to Settings > General > Reset and choose Reset All Settings. After your iPhone restarts, you’ll need to reconfigure your settings, but your data will remain intact.
7. Visit an Apple Store or Authorized Service Provider
If all else fails, it may be time to seek professional help. There could be a deeper issue with your iPhone’s hardware, like a malfunctioning battery or charging port.
What to Expect at the Apple Store
At an Apple Store or an authorized service provider, technicians will be able to diagnose the issue and offer a solution, whether it’s a repair or a replacement. If your phone is still under warranty, this service may be covered.
Conclusion
If your iPhone isn’t charging, don’t panic! While it may seem like a major issue, more often than not, charging problems are caused by simple issues that are easy to fix. By following these 7 quick and easy fixes, you can identify the problem and solve it in no time, ensuring your iPhone gets back to charging smoothly and quickly.
Start by looking at the basics. Checking your charging cable and inspecting it for any visible damage is always a good first step. Many users overlook this simple solution, not realizing that cables can get worn out over time, especially if they’re regularly bent or twisted. A damaged cable can be a major culprit behind charging issues, and replacing it could solve the problem instantly.
Next, ensure that the charging port is free of debris. You’d be surprised how quickly lint, dust, or other particles can accumulate in there, preventing your iPhone from charging properly. Cleaning the port carefully with a non-metallic tool can make a big difference. Just be cautious, as the charging port is delicate, and using the wrong tools could damage it.
If your cable and port seem fine, the next step is to restart your iPhone. It’s a simple solution that many people forget, but a quick reboot can resolve software bugs or minor glitches that might be interfering with the charging process. This step takes only a few seconds and can save you a lot of frustration.
Moreover, don’t forget to check for any software updates. iOS updates are released frequently, and some updates may contain important fixes for issues related to charging or battery life. Keeping your iPhone up-to-date with the latest software is not just about adding new features but also about improving the overall performance of your device.
If none of these steps work, the issue might lie with the power source itself. Whether you’re using a wall outlet, a USB port on your computer, or a power bank, switching to a different power source could resolve the issue. Sometimes, a faulty outlet or power source is the cause of the charging problem, so testing with a different one can help rule this out.
In cases where the issue persists, resetting all settings on your iPhone is a next step to consider. This won’t erase your personal data, but it will restore your phone’s settings to their defaults. It can be an effective way to address any software glitches or settings-related issues that might be preventing your iPhone from charging properly.
Finally, if all else fails and you’ve gone through every troubleshooting step, it’s time to visit an Apple Store or an authorized service provider. There could be an underlying hardware problem with your iPhone, such as a malfunctioning battery or charging port. At an Apple Store, expert technicians can run diagnostics to pinpoint the issue and provide a solution, whether that involves a repair or a replacement.
Remember, iPhone charging problems don’t always signal the end of your device’s lifespan. In most cases, these issues are easy to fix with a little time and effort. By following these steps, you can save both time and money by solving the problem yourself without needing to take your device in for costly repairs. So, don’t stress—take a deep breath, try out these fixes, and get your iPhone charging again in no time!
If none of these solutions work, rest assured that you’ll be in good hands with Apple’s support team, who are always ready to help you out. Whether it’s a quick fix or a more complex issue, you can trust that your iPhone will be up and running again soon.
Read Also I Replaced My iPhone Battery at Home. Here’s How to Replace Your iPhone Battery in 5 Simple Steps
-
Why is my iPhone not charging even though it’s plugged in? Your iPhone might not be charging because of issues like a damaged charging cable, dirty charging port, outdated software, or a faulty power source. Try the troubleshooting steps above to fix the problem.
-
How do I clean my iPhone charging port? Gently remove any dirt or debris from the charging port using a non-metallic tool, like a toothpick or a small brush. Be sure to power off your iPhone first to avoid causing damage.
-
Why does my iPhone charge intermittently? This could be due to a loose cable, dirty charging port, or a faulty charging port. Inspect your cable and port for any visible issues and clean them if necessary.
-
How do I know if my iPhone’s battery is faulty? If your iPhone shows signs of fast battery drain or doesn’t hold a charge, the battery could be malfunctioning. A visit to an Apple Store can help determine if your battery needs replacement.
-
Can using third-party chargers damage my iPhone? Using non-certified third-party chargers can potentially cause damage to your iPhone. Always use Apple-certified cables and adapters to ensure safe and efficient charging.


